
Questions? Missed a post? Find the index here.

I'll be honest here, I have the hardest time getting my Stem Stitch to look even {if you examine the last photo closely, you'll see what I mean}. But I still love the look, even if my tons of practice hasn't paid off yet.
The symbol for Stem Stitch is just a straight line, much like Back Stitch, so look at the pattern closely for directions. Also, you could change your Stem Stitch and Back Stitch up, if you want a bit of a different look!

Bring the needle up on the left side of the straight line.
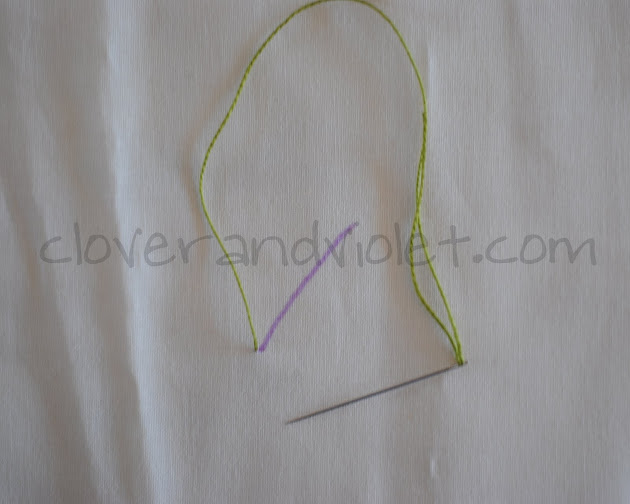
Then, poke the needle through on the right side of the line, making a longer diagonal stitch.

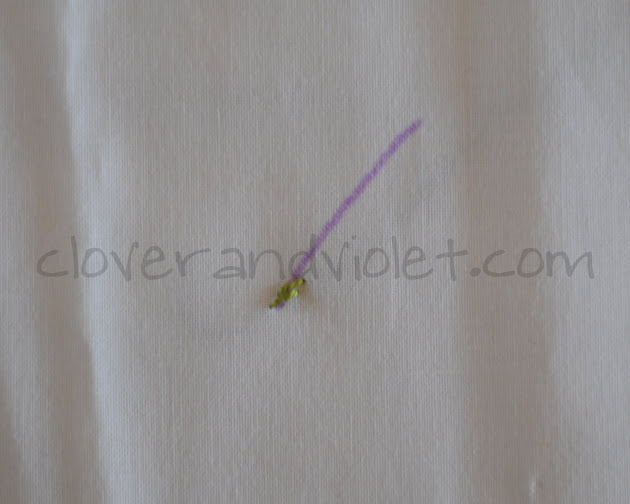
The first stitch should look something like this:

Then bring the needle up again on the left side of the line about half-way through the height of the stitch.

Make the next stitch the same size as the previous. Two stitches should look like this:
Then just continue along the line, with each stitch starting at the half-way point of the previous, and extending past it. For variation, adjust the size of stitches.

I think it adds some great texture to a straight line, don't you?

These tutorials are so helpful, thank you so much!
ReplyDelete