
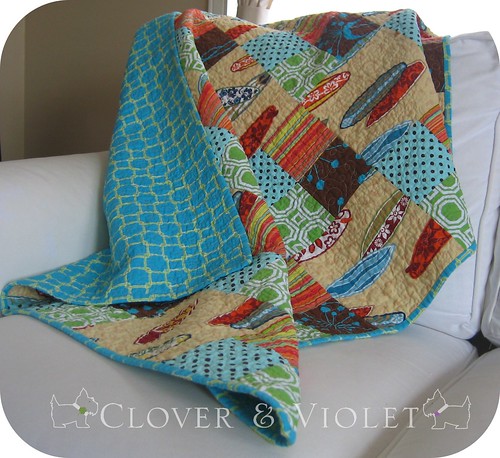
I made this super easy quilt last week, and thought I'd share the almost-pattern. Really, it's just a simple Four Patch, but it is sized to use a few fat quarters {which I always buy and then am not quite sure what to make with!}. It is the perfect size for a picnic blanket or for a little one to cuddle up in {this specific one is for my adorable nephew}.
Supplies:
- 4 fat quarters
- 1 yard large print
- 1 1/3 yards backing
- 3/8 yard binding
- 41" x 48" batting

Sew all the top and bottom left strips together, repeat for the top and bottom right strips. You should now have eight (8) pairs of strips. Cut each pair into 4 1/2" x 8 1/2" rectangles for a total of thirty-six (36) rectangles.

Pair the left and right rectangles and sew along center seam creating sixteen (16) identical four patch blocks. Cut the yard of the large print into four (4) 8 1/2" strips, and then the strips into four (4) 8 /12" squares, for a total of sixteen (16) blocks.

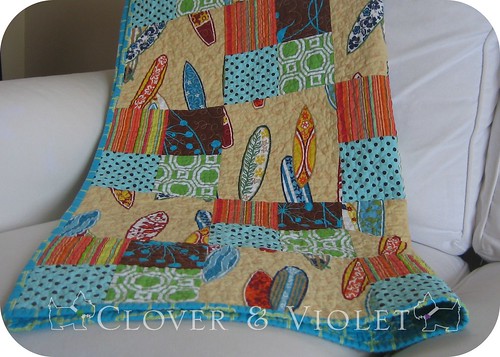
There you have it, a great quilt you can make in just a few hours {or a couple days in my case} that is sure to be loved {and maybe help with that stash of fat quarters as well}. Finished quilt measures about 37" x 44". Oh, and if you make this quilt, we'd love to see it posted to our Flickr Group. Enjoy!
Note: This pattern is for personal use only, not for resale or commercial use.
What a fabulous tutorial. :o)
ReplyDeleteThanks for sharing! Tricia Anne
Thanks for the easy to follow tute! I'm posting the pics to flikr now :o)
ReplyDeleteThank you for this great tutorial! I am teaching my daughter to sew/quilt long-distance (from Idaho to Washington D.C.). I am always looking for tutorials that are easy enough for a beginner, yet have the finished look of a pro. I also love your wonderful choice of quality fabrics. It makes all the difference.
ReplyDelete