We've moved to our new blog!  Please update your readers to our new feed:
Showing posts with label Kids. Show all posts

Friday, September 7, 2012

Trying Hand Quilting


You've seen this block here before, but that was so long ago I doubt many remember it!  Sometimes a project gets constantly bumped to the back of the work in progress pile, and that is the sad story of this mini quilt.  You see, I decided I'd try my first ever hand quilting on it...


But, in spite of searching for tutorials, I could not seem to get my stitches right.  I ended up just doing a stabbing method because I could not seem to get my needle in at a 90° angle otherwise {I ended up mostly looking at Anna Maria Horner's "Anna Answers" post to help me out}.


I eventually decided that it was most important that my stitches look straight and uniform on the front...and just let the back be a little crooked-y.  It is just a wall hanging anyway!


Here's a closer look at the crooked back, maybe I shouldn't have used a solid color either!  In conclusion I think I need a hand quilting frame of some sort and a lot of practice!  In reality, I will probably just stick to mostly machine quilting!


And here's a look at Norah's wall all finished {for now, at least!}.  I think the kids room is starting to look all cozy!


Linking up with:
There and Back

Tuesday, July 24, 2012

French Seam Pillowcase {tutorial}

Remember this?


Well, several months later, I'm finally back with a simple tutorial!  You will need:
  • 20" x 42" main fabric {I actually made both the pillowcases shown with only 1/2 yard, but, since the pillows were for my toddler, they are rather flat already, 20" would probably accommodate a new pillow nicely, depending on how tight you want the pillowcases to fit!}
  • 2 - 12" x 20" accent fabric {again, I didn't want lots of extra fabric overhanging my pillow, so adjust accordingly!}

First, trim the selvage from the main fabric.  Then sew the accent fabric, right sides together, using a 1/2" seam allowance, to both 20" edges.  Fold the raw edge of the fabric under and top stitch in place, as shown {you could use a french seam here too, but I liked the double row of stitching this made on the outside}:


Next, sew the two long seams, wrong sides together with 1/4" seam allowance.  Turn the pillowcase wrong sides out, and sew the long seams again, with a 3/8" seam allowance, making sure to catch all the raw edges inside the seam:


Hem by folding down 1/2", then another 5" for hem {adjust as desired for pillow size}, stitch in place:


Finish with two rows of top stitching and you have one special pillow!


I think these are a great addition to any room and make a plain pair of sheets a lot more exciting.  And Silas loves to crawl in bed and sleep on his trucks pillow!  Now that he has some fun pillowcases and wall art, I really need to get busy on his quilt!


Wednesday, July 18, 2012

Needing Motivation


It's been one of those days for a while now...you know, the kind where you admire all your pretty sewing things and fabric, but never actually switch on the sewing machine...good thing my mom has been making such pretty things to keep us all inspired!

HFM

This is how life has looked at my house, Hand, Foot and Mouth Disease...poor little boy!

Dress

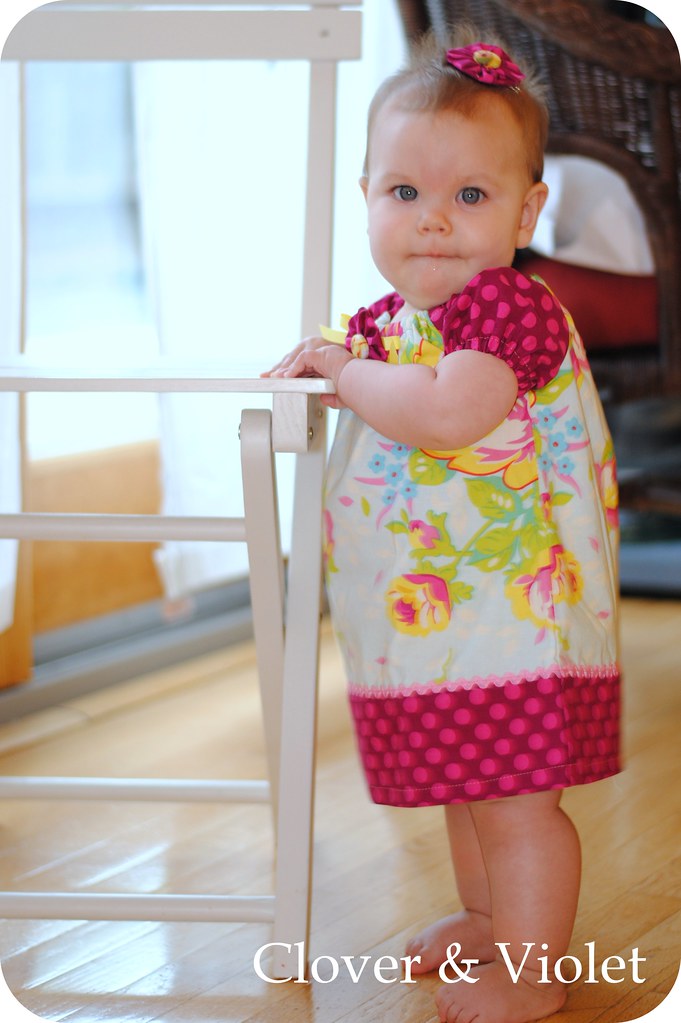
Fortunately, this little girl hasn't caught it {yet}, and she is just the most cheerful little one too!  I have a hard time capturing her smile these days because all she wants to do is stand, but she's not very sturdy, so it makes it hard to get pictures.  Here she is modeling the dress Grandma had made for her!

Maybe today I'll get a little sewing done, how do you regain your motivation when you've hit a slump?

Tuesday, June 26, 2012

Boy Wall Art


I have been meaning to make a little bit more wall art for Silas's room for forever {you can see the room before here}.  I bought this print and then had the colors customized to Silas's bedding.  But it needed something quilty too...  So I finally decided on little quilted pictures in matching black frames.


I cut out his three favorite trucks from Peak Hour by Kellie Wulfsohn for Riley Blake, and fused Heat N Bond Ultra to the back, then trimmed close to the edge.


I then fused it on top of a selection of 1 14" strips cut from the fat quarters that will eventually be his big boy bed quilt!


The only problem...he wants to play with them instead of look at them {he already broke the frame stand off the fire truck!}.


But, it really makes his room look a little more put together. And he's sleeping in the twin bed now {as evidenced by the rail}, there was a little too much bouncing on the crib mattress going on, I was afraid he might hurt himself! And even though this picture is a bit blurry, it was the best I could do indoors with a busy little boy.

So, at the rate I'm moving, it looks like their room should be completely together about the time we pack up and move next summer!  Oh well, at lest everything will be ready for the next house!


Linking up with:

Friday, June 15, 2012

Goodie Pouch


I'm baking today at the Moda Bake Shop {the only kind of baking that seems to happen in our house!}.  Check out my Goodie Pouch as part of the Summer Camp for Kids!


And if you're visiting from the Moda Bake Shop, welcome!  I hope you find some things you like and decide to stay a while!